
Starting notes - make sure it's good weather as if you get stuck halfway through and it rains you wont be able to close your windows!!
This should take no longer than 30 minutes if you have the right parts. It's much easier with 2 people (one person holds the glass up for you), but it can be done by yourself.
Please note - the regulators from the 3 door and 5 door models are different, make sure you have the right ones, they will not fit if you have the wrong ones (I found out the hard way
Tools required - electric motor regulators, screwdriver, socket set.
First of all take off your door panel.
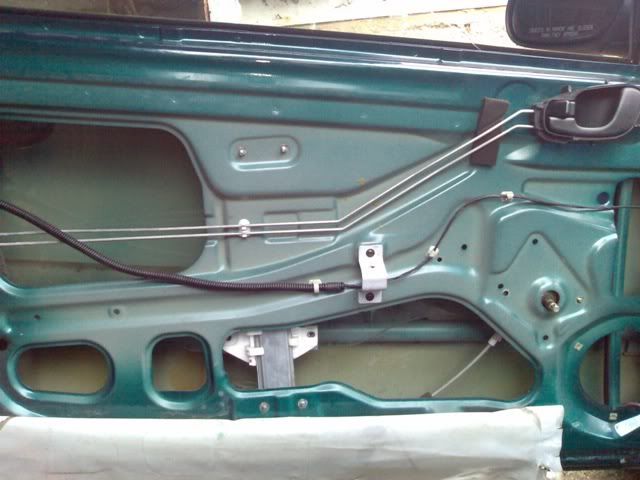
Peel back the white stuff from the door, but try and keep the bottom on if you can so that you can easily put it back afterwards.
There are 6 nuts that need to be undone on the old regulator in the door. There are two at the top, two at the bottom, and two near the manual winder. These are very easy to spot.
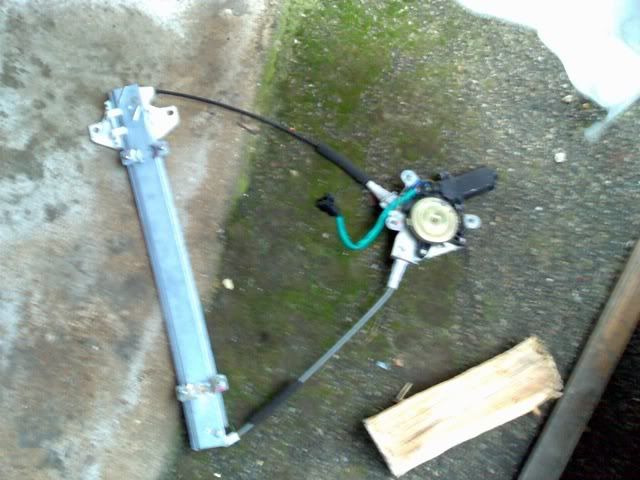
At this point get your new electric regulator ready so you can quickly swap them over.
If working on your own, find something that can hold the glass up for you - I used random bits of wood I found.
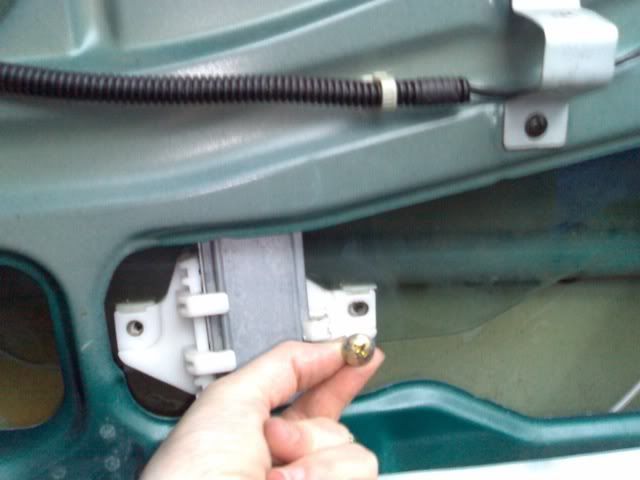
Wind your window down so that you can access the two screws that attach the regulator to the glass as shown in this picture. When you undo these the glass should rest on the regulator still, but be ready in case it drops. Now you can either take the glass out and hope you can get it back in easily, or get someone to hold the glass up for you, or use some bits of wood or something, whilst you remove the old regulator from the bottom section of the door.
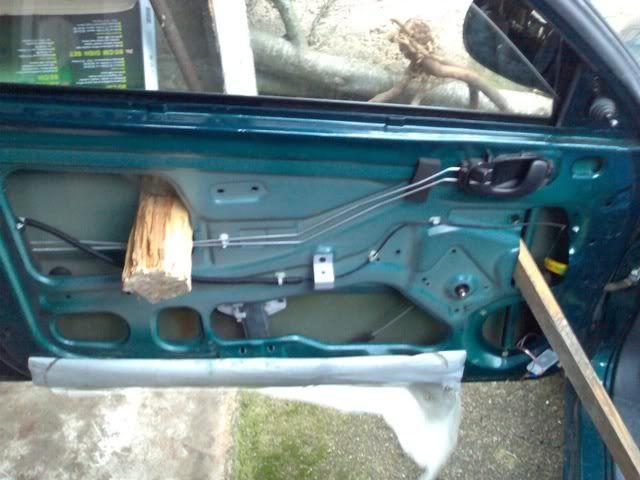
This is how I did it with the bits of wood lol.
Now put the new regulator in. It fits in the same way as the old manual ones but you will require one more nut for each electric regulator you add. The manual ones only required 2 nuts where the window winder was, the motors need 3 there.
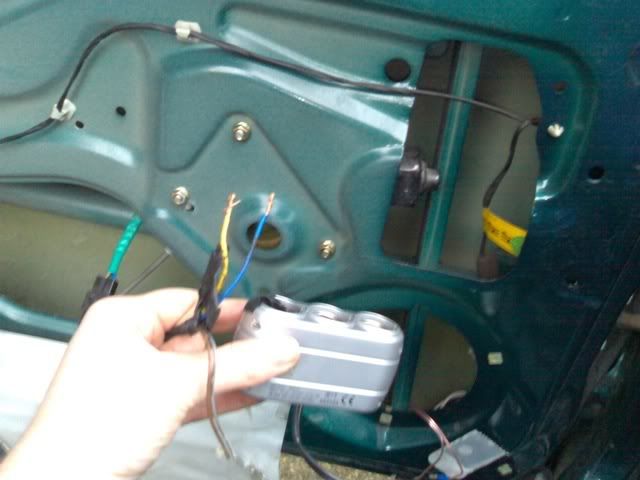
Once the new electric regulators are in you need to bring the white bit down to the bottom so that you can screw the regulator into the glass, just like the old manual ones did. Here I used a cigarette lighter splitter to power the windows up and down from the wires. You could use any means of doing this, you just switch round the wires + - depending on whether you want them to go up or down. Make sure it's a fused power supply you're using though (so not straight from the battery!).
Once screwed in, power them up and wire them up, and put door trim back on!
Wiring is pretty simple, you need the switches and plugs for the centre console if you're getting parts from a scrapyard. Basically each window connects to the switches, and the switches need power and ground.
If you have any questions, please feel free to PM me.
